
ANTICLASTIC RAISING | METTE O'CONNOR
WELCOME TO YOUR ONLINE TUTORIAL:
ANTICLASTIC RAISING WITH METTE O’CONNOR


Course FAQ
-
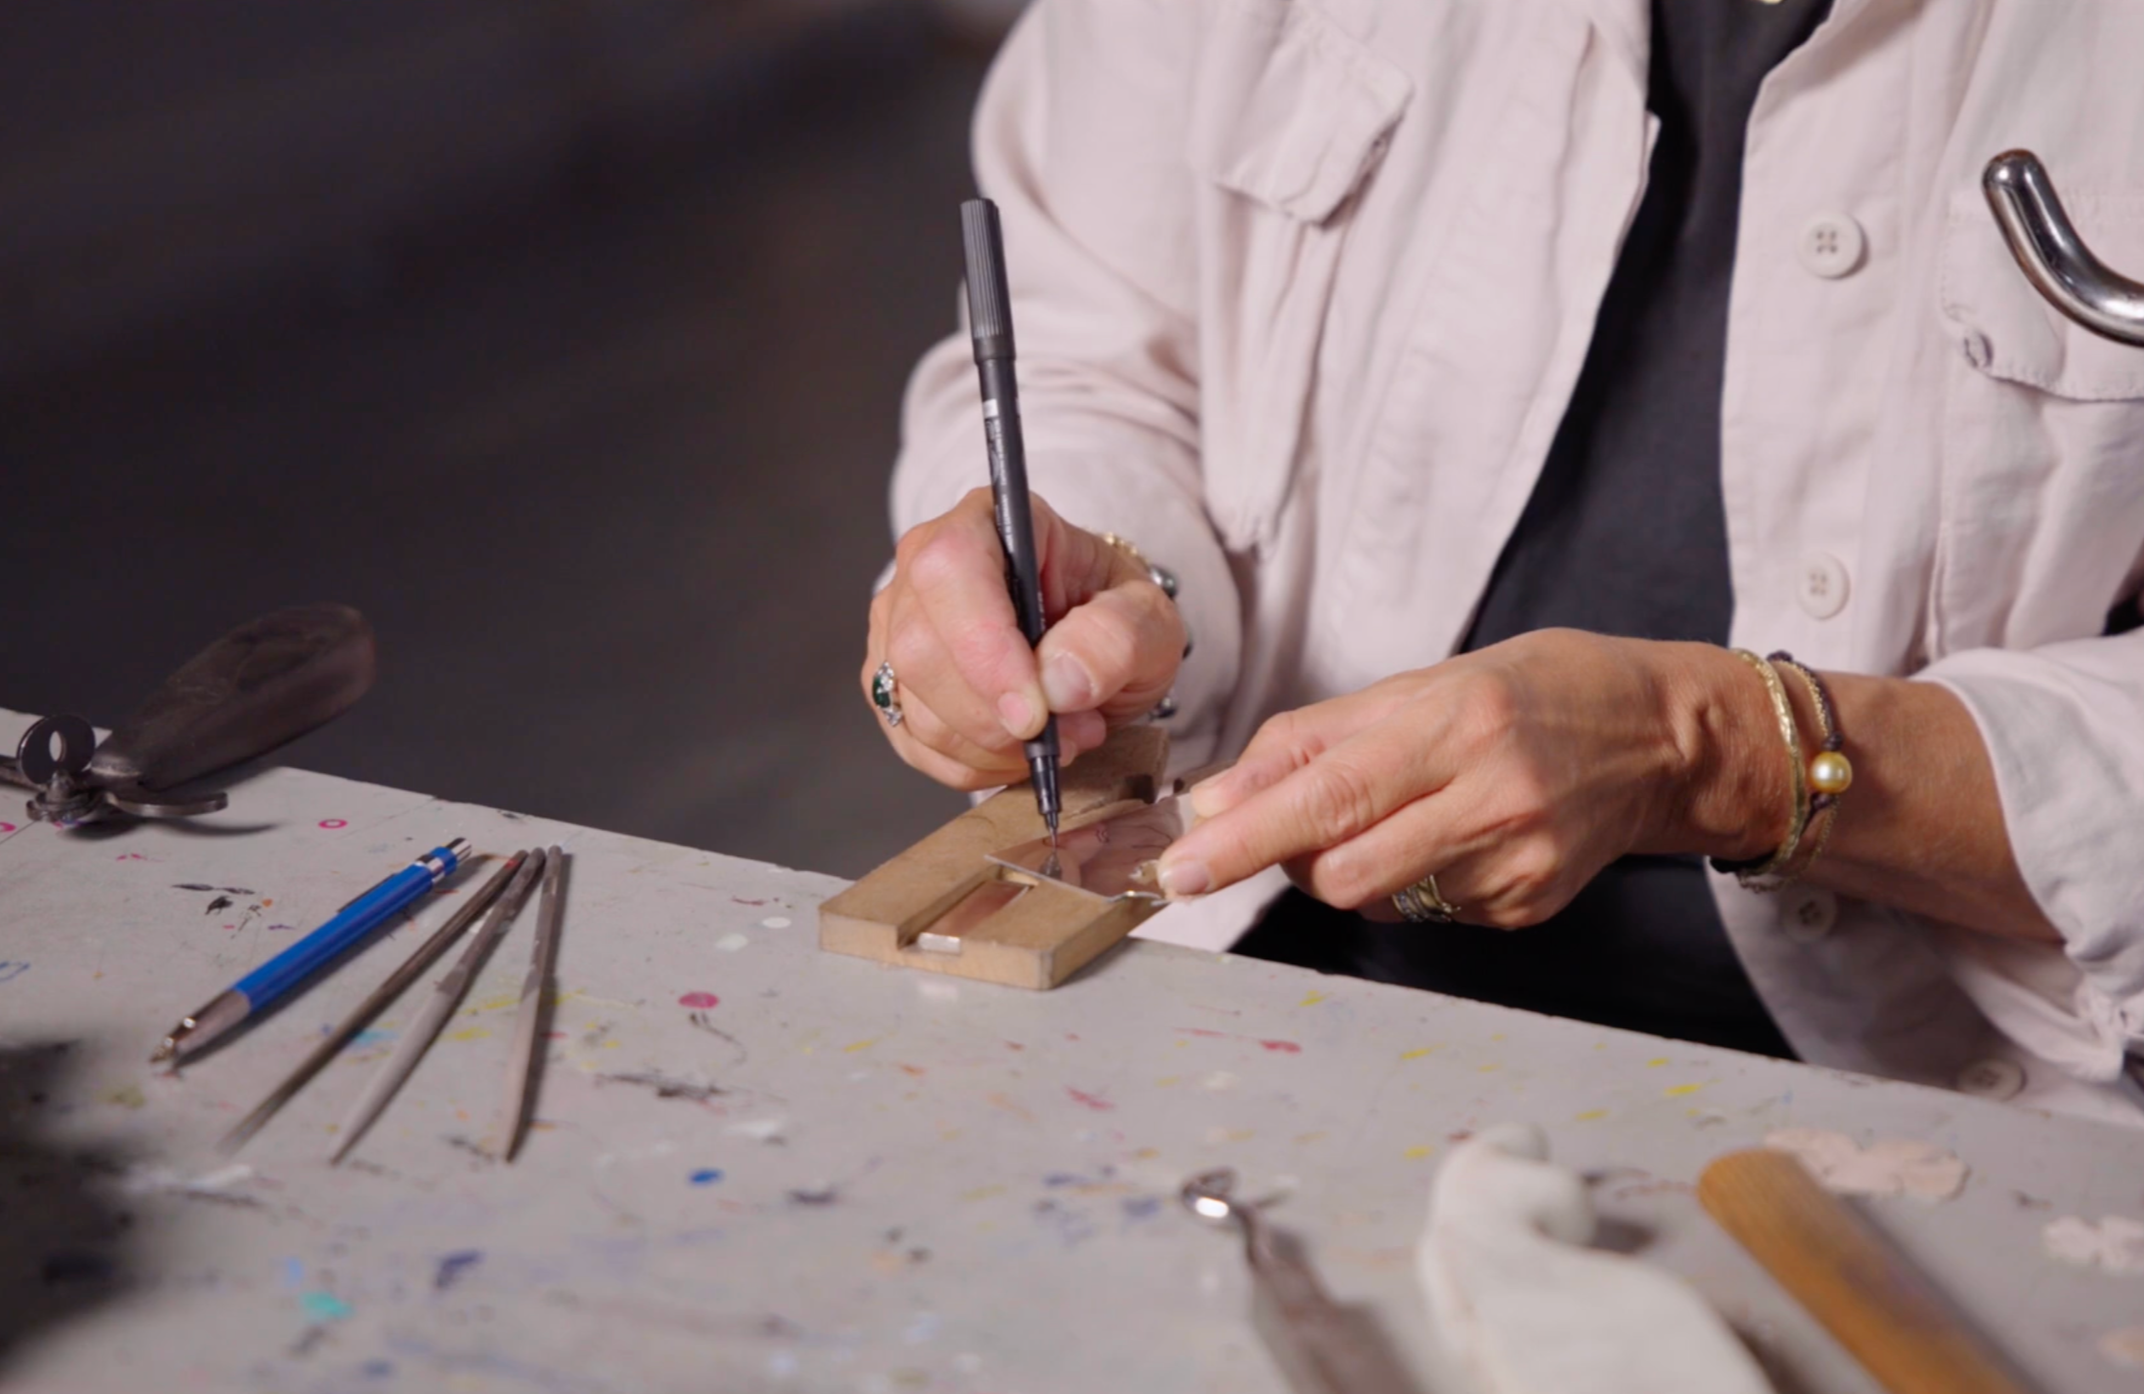
Design & Layout: How to draw and transfer an organic, floral design onto a metal sheet using a marker and scribe.
Precision Cutting: The technique of using a jeweler's piercing saw to safely and accurately cut out your metal shape.
Preparing the Metal: How to file sharp edges for safety and comfort before the shaping process begins.
Adding Decorative Texture: How to use different hammers to create patterned textures on the flat metal before raising.
The Core Technique: Anti-Clastic Raising: The process of using hammers and stakes to create smooth, three-dimensional curves in two opposite directions.
Shaping & Forming: The methodology of starting with gentle curves and progressively working towards tighter, more dramatic shapes without buckling the metal.
Organic Design Refinement: How to twist and adjust the metal by hand and hammer to create a natural, flowing final form.
Finishing & Texturing: How to use a scouring pad to create a matte finish that provides contrast and highlights the form.
-
Metal: A thin sheet of silver (0.5mm is ideal) or copper.
Design & Cutting Tools:
Permanent marker and a scribe (a very pointy needle/awl).
Jeweller's piercing saw and blades.
A jeweller's bench peg or a piece of wood to cut over.
Files for smoothing edges.
Shaping Tools:
A selection of hammers (e.g., a polished steel hammer for texturing, a plastic/rubber mallet, and a steel hammer for finer shaping).
Anti-clastic raising stakes (or any rounded, hard surface like specific anvils).
Finishing Touches:
An old scouring pad or sandpaper for adding texture.
(Optional) Drill and wire for assembling into a pendant.
-
Suitable for all levels.
-
The course is composed of one video, a total of 23 mins. Enjoy the benefit of being able to watch and follow along at your leisure for the duration of your access.